很多時候在寫文章,會需要截很多圖片,尤其是步驟式的教學文章,常常一個動作就要存好幾張,好像有點麻煩吧…
本來嘛,我都要用螢幕錄影的方式,還得需要剪輯再轉檔成gif,但時代在進步,總有一些工具橫空出世,這次要介紹的,就是我最近的心頭好ScreenToGif。只要簡單的使用它提供的工具,就能輕松的做出類似下方的gif,非常的簡單。
ScreenToGif 軟體介紹
ScreenToGif是由位於巴西的開發者Nicke Manarin所開發的一套開源的截圖軟體。完全免費之外,也沒有廣告,重點是已經內建中文,不用擔心看不懂。

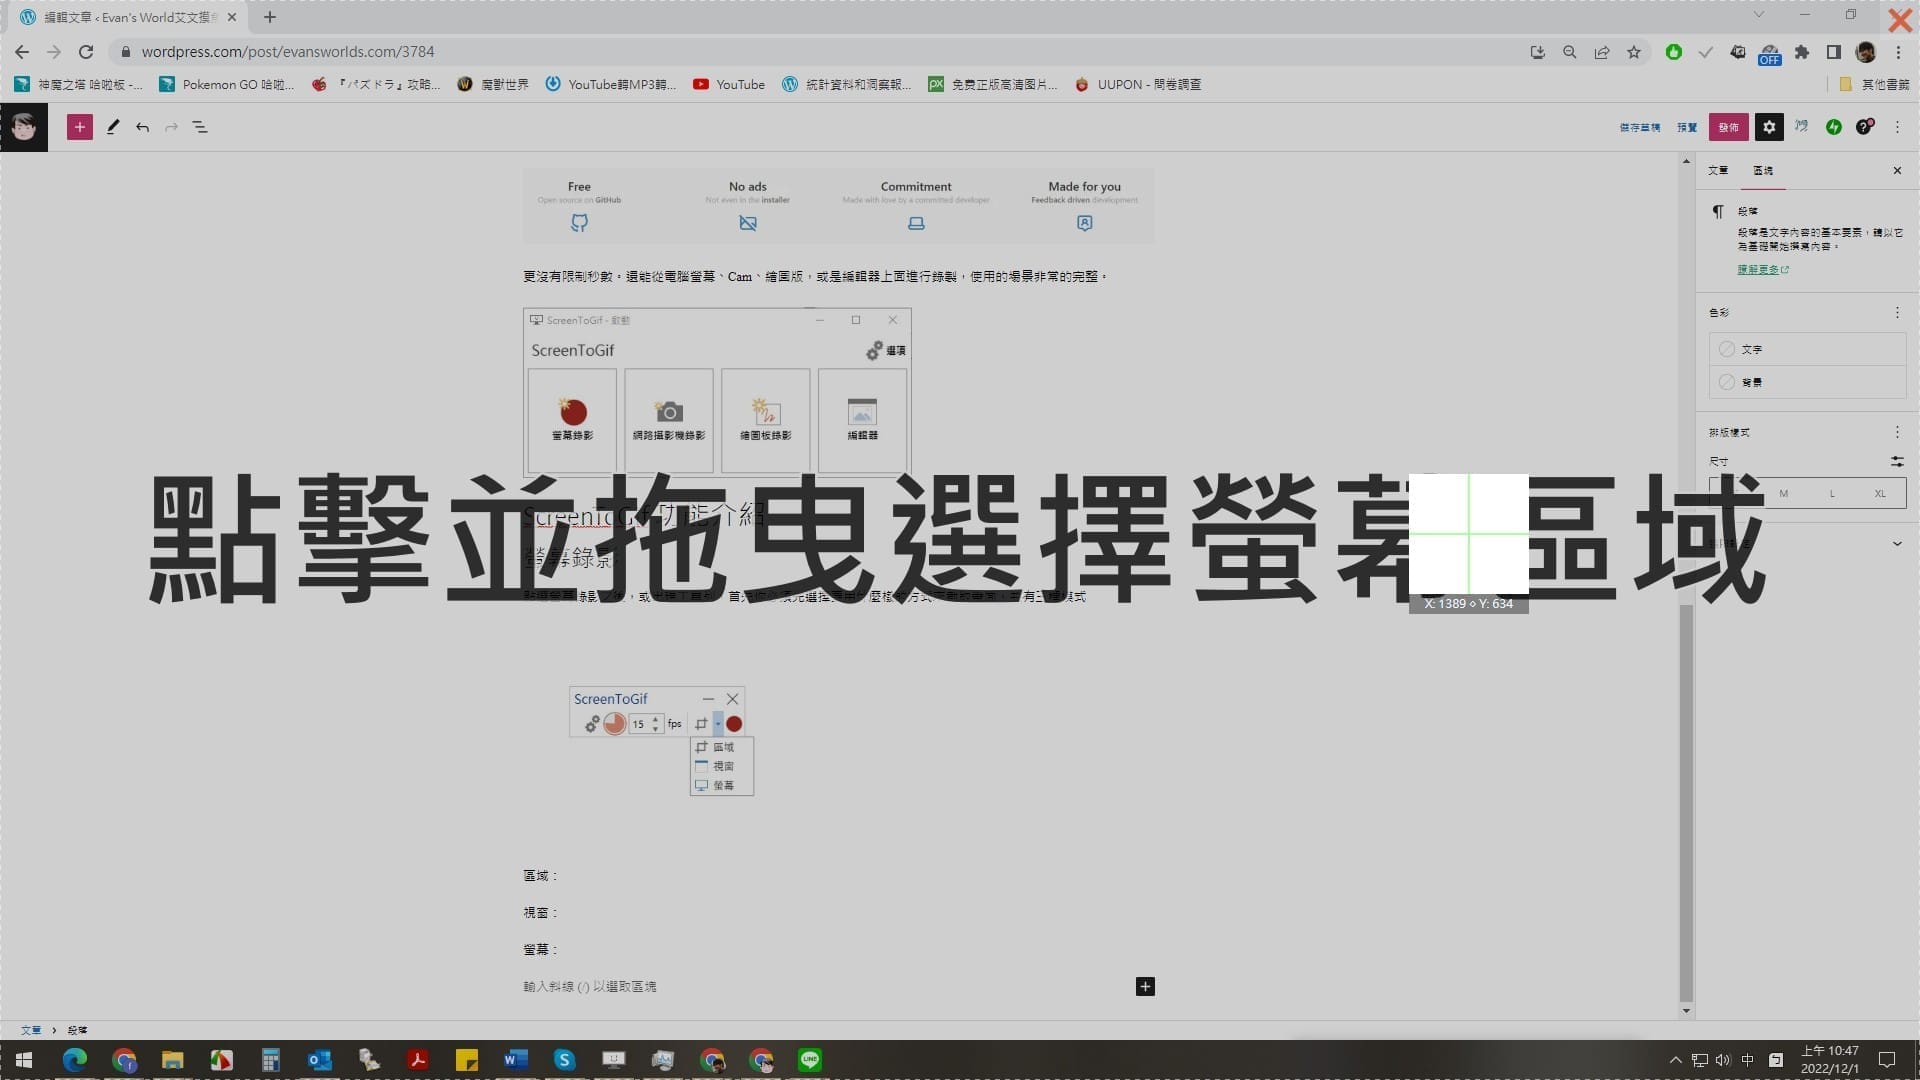
更沒有限制秒數。還能從電腦螢幕、Cam、繪圖版,或是編輯器上面進行錄製,使用的場景非常的完整。
ScreenToGif 功能介紹
在開始之前
因為舊版的是長這樣,也就是用框框裡面的內容框住你想要錄的畫面,某些時候我覺得也是蠻直覺的,但一開始的時候,我還真的搞不懂該怎麼框。
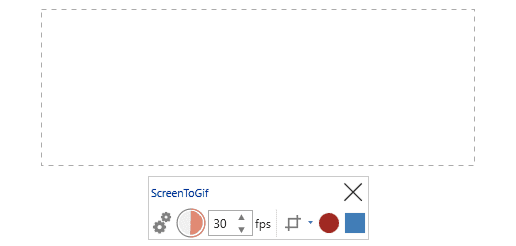
因此,我們需要改為大家比較熟悉的方式,圈選。就是用虛線來框住你要錄制的範圍
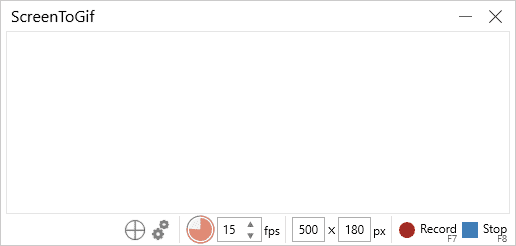
我們先設定一下視窗的模式。點選選項
然後選擇,新的模式
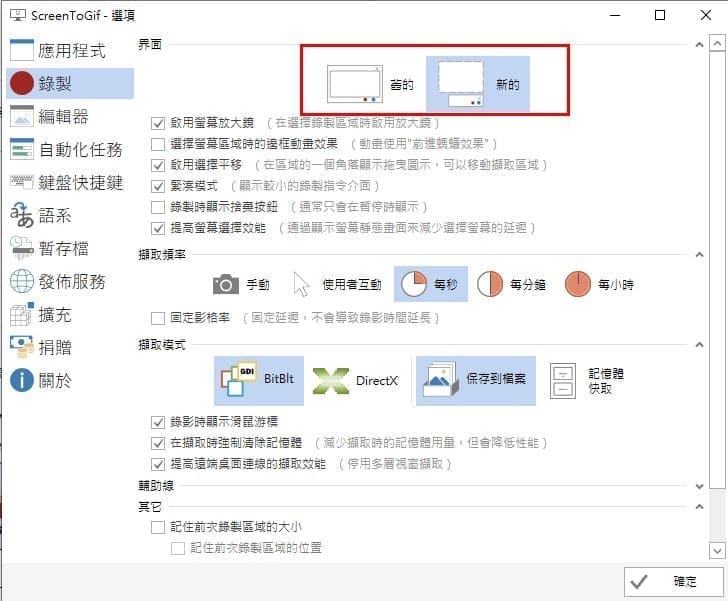
這樣接下來在使用的時候,就會比較符合你的操作習慣了。
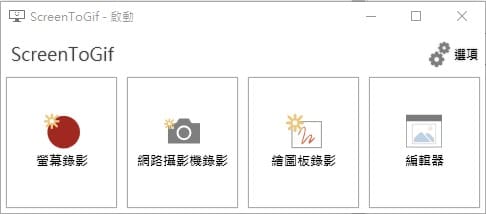
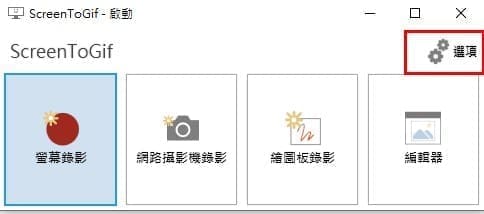
螢幕錄影
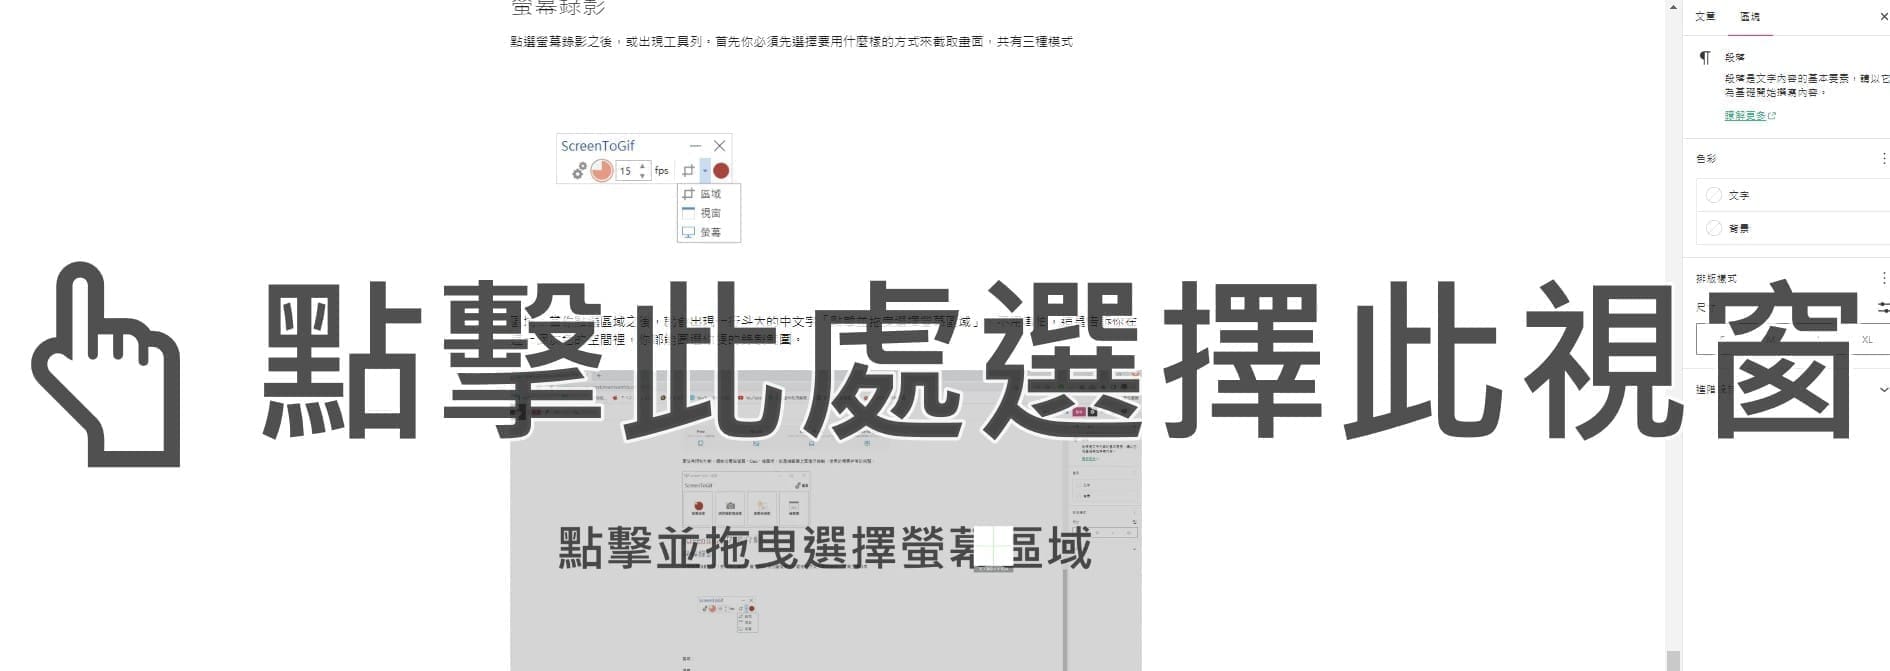
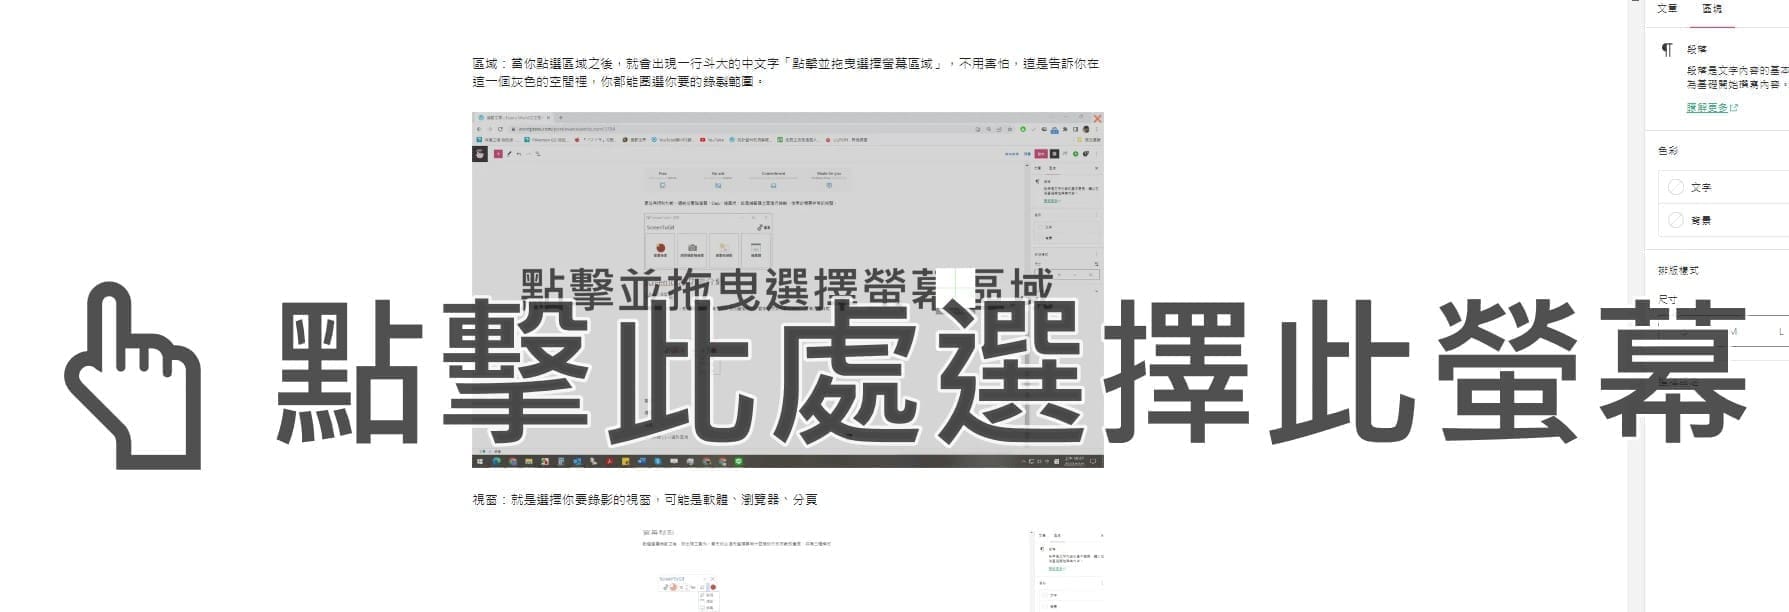
點選螢幕錄影之後,或出現工具列。首先你必須先選擇要用什麼樣的方式來截取畫面,共有三種模式
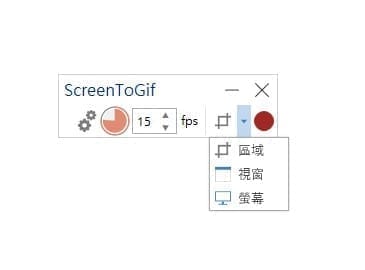
區域:當你點選區域之後,就會出現一行斗大的中文字「點擊並拖曳選擇螢幕區域」,不用害怕,這是告訴你在這一個灰色的空間裡,你都能圈選你要的錄製範圍。
視窗:就是選擇你要錄影的視窗,可能是軟體、瀏覽器、分頁
螢幕:如果你有多個螢幕,也能選擇直接從一個螢幕截取。
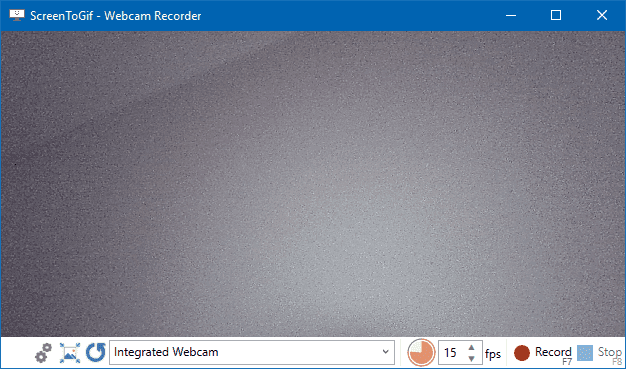
錄影機錄影
這裡很簡單就是選擇你ˇ的攝像頭的機型後,就能開始錄制
繪圖板錄製
這裡指的是ScreenToGif 提供的白板工具,可以在空白的空間繪圖之後,再錄起來
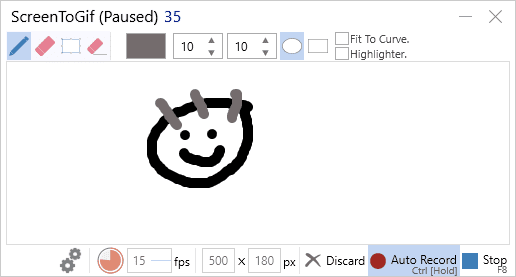
蠻適合做一些圖示說明
ScreenToGif 編輯功能
這部份是我覺得相對其他軟體來說,最直覺使用的編輯器了,如果你有用過一些錄影軟體,了解影格是什麼,基本上一看就懂。
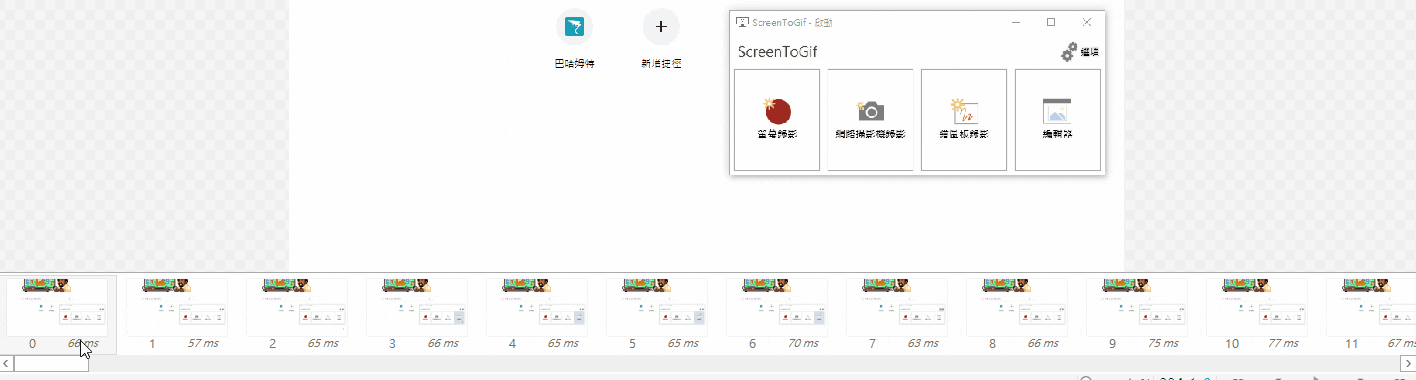
功能大多是你在主要視窗就能直接處理的功能匯整,然後可以加快你編輯的效率
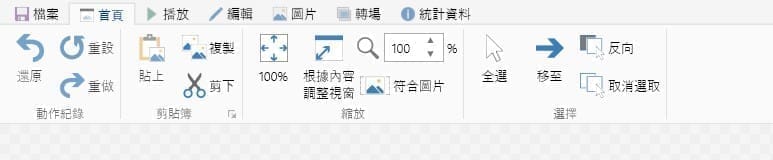
- 首頁:整個工作區的設定
- 播放:控制編輯影片的速度
- 編輯:就是影片上需要編輯的動作,比如說連續重播,反轉、移動影格,刪掉部份影格,貼上影格…等等
- 圖片:這裡稍微介紹一下,透過圖片介紹,你還可以新增文字說明,記得要先選好影格之後,再新增。但無法新增多行文字。

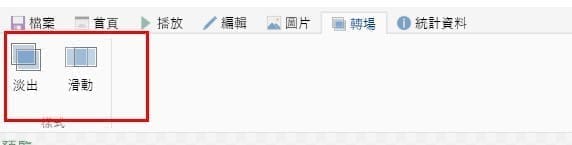
- 轉場:很特別,因為本來就是影片錄製的工具,因此也會有簡單的轉場效果,但在gif上的呈現通常都是快速跟單一,比較不會影響讀者。且畢竟是gif檔,太長的影片會增加網頁讀取的負擔,我個人是不太會在gif上使用轉場。
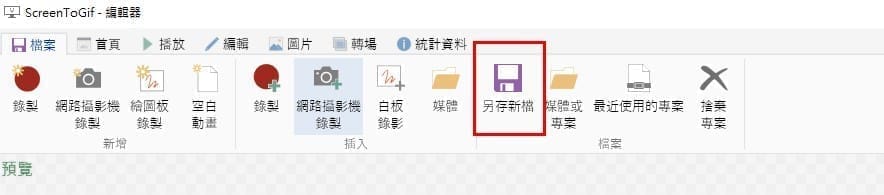
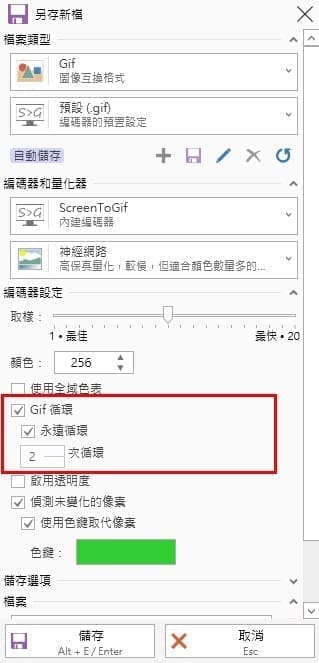
ScreenToGif 另存新檔
編輯完你的gif檔案之後,記得要另存新檔。因為直接按存檔是儲存你這一個專案,包含編輯視窗的檔案。
檔案類型
檔案類型的話,建議使用預設的,比較不會當機之外,檔案也稍小一些。
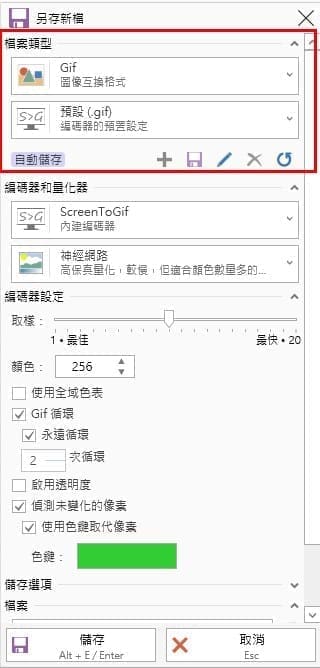
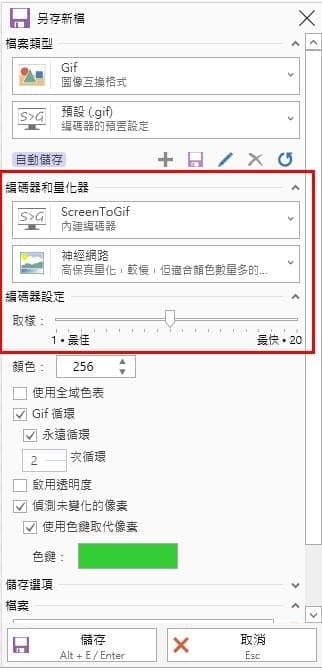
編碼器
這邊的編碼器指得是要轉成gif時,採用的編碼器,一般來說,如果不是要做很細緻的gif不需要使用到神經網路,因為這樣的檔案很大之外,也比不上實際轉成影片的效果。我個人是比較推薦使用預設值。
循環次數
這裡很貼心的直接將循環設定為永遠,但如果你不想畫面一直在閃的話,也可以設定要重播的次數。這對於有些平台限制閃爍次數是蠻不錯的功能。
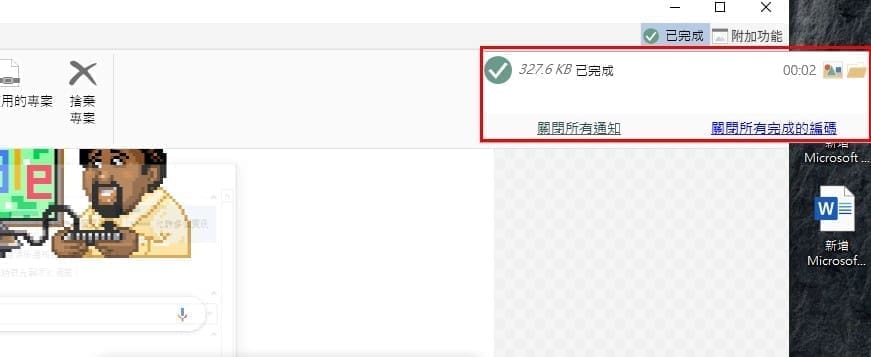
儲存檔案完成之後,你就獲得自己錄製的Gif檔啦!檔案其實很小,你也能看看轉檔的效率
ScreenToGif下載

或是直接下載