很多朋友都有來詢問,要如何更清楚的知道自己的網站有沒有被google收錄,答案是有的,而且只要兩個步驟就能搞定。但我會說明的詳細一點,方便大家認識新版有哪些功能
2步骤新增網站:
- 新增網域
- 輸入DNS進行驗證
登錄Search Console
首先在google搜尋Search Console
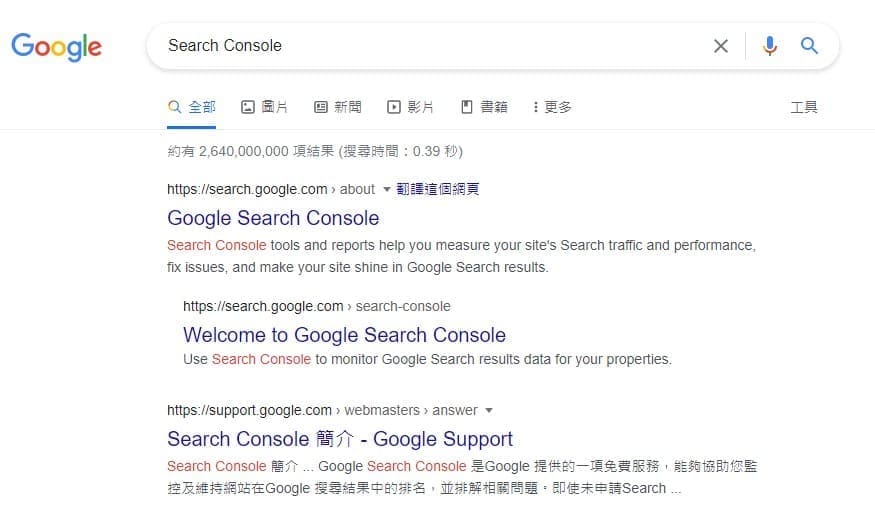
使用你的google帳號登錄後,就會進入到資源驗證。
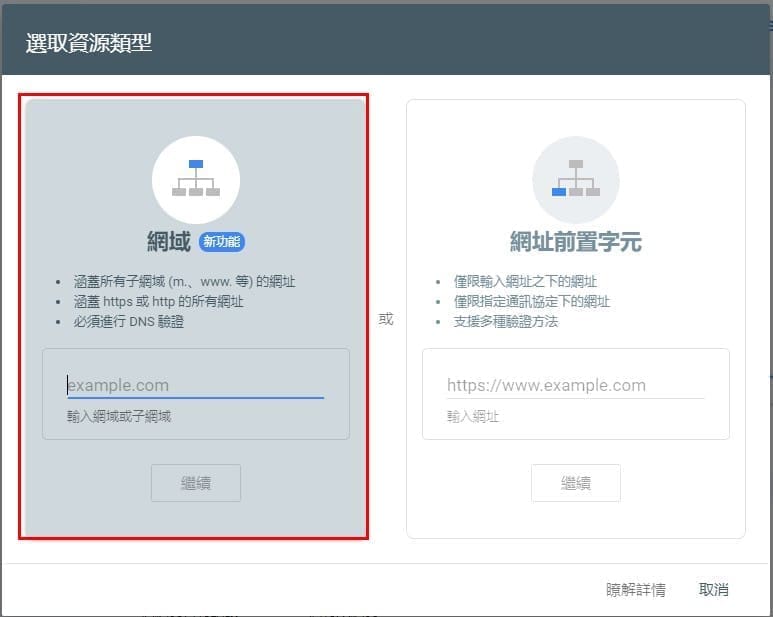
驗證資源有兩個方式:網域、網址前置字元
網域:
透過網域的驗證是最快的方式,通常只要知道你的網站服務商是誰,就能直接在服務商後台進行設定。這裡不需要驗證子網域,也就是你的網站名字前面是什麼,直接省去網域名前的資訊,就能進行驗證。
- 涵蓋所有子網域 (m.、www. 等) 的網址
- 涵蓋 https 或 http 的所有網址
- 必須進行 DNS 驗證
Step1. 登入你的網域名稱供應商網站 (例如 godaddy.com、namecheap.com)
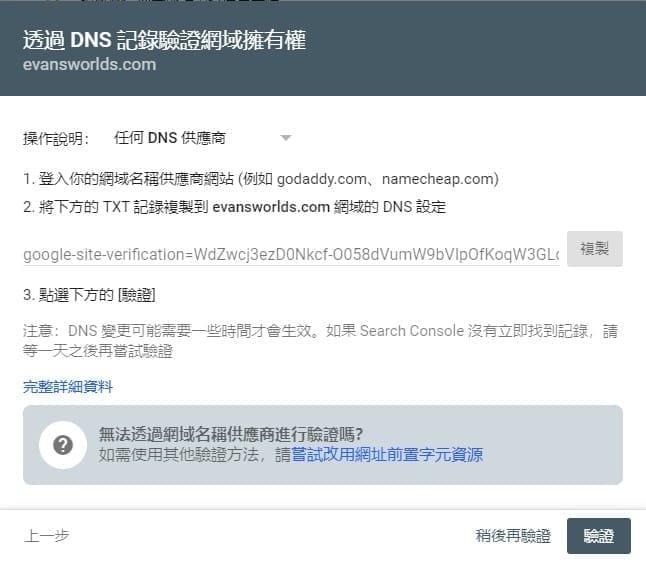
Step2. 將下方的 TXT 記錄複製到 yahoo.tw 網域的 DNS 設定
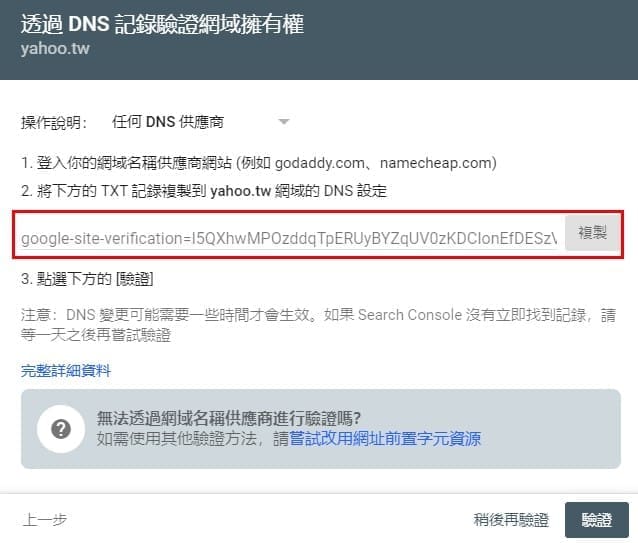
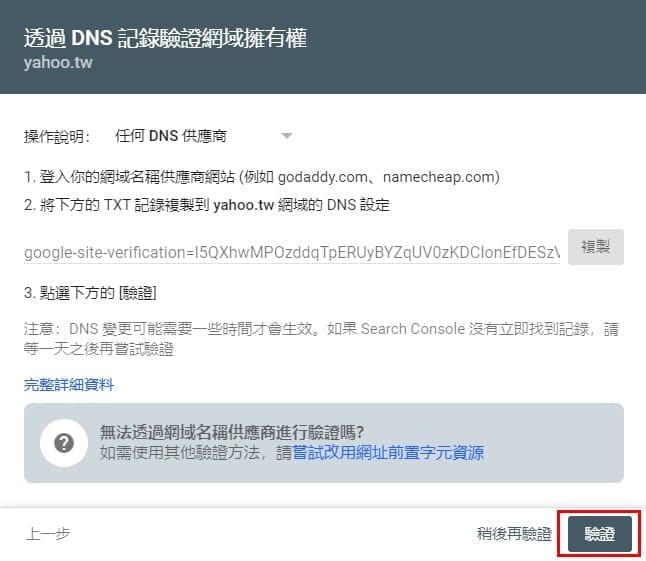
Step3.點選下方的 [驗證]
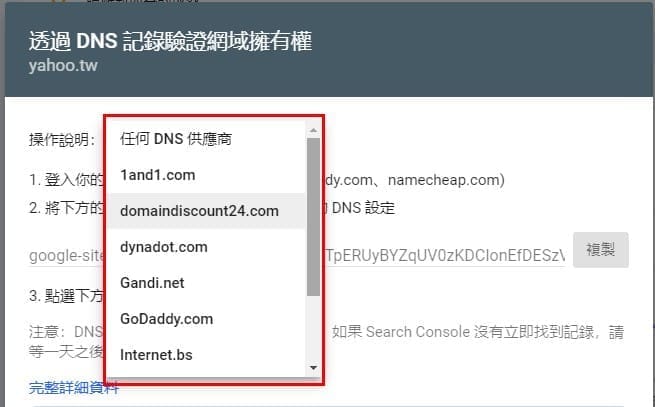
如果你是自己架站,已經知道是什麼的網路服務供應商的話,也可以在操作說明旁邊的下拉選單,直接選擇你配合的廠商。
網址前置字元
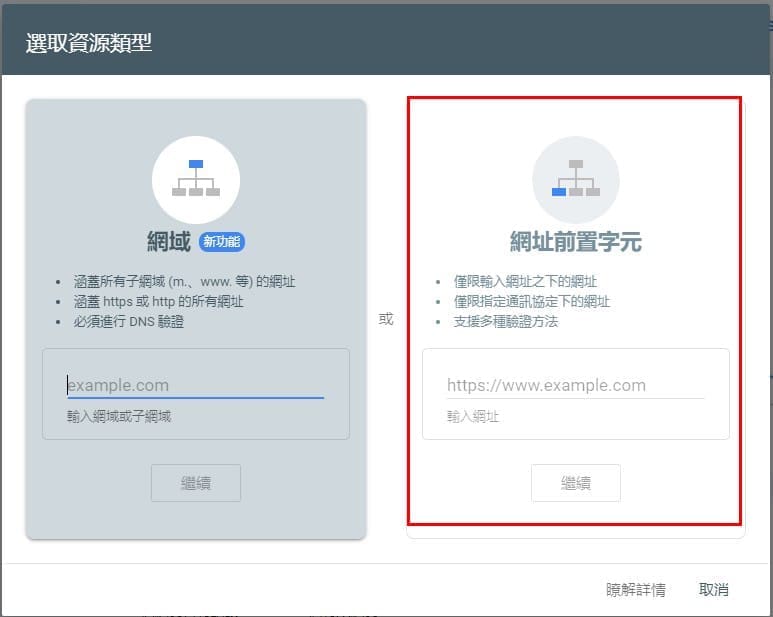
而網址前置字元比較麻煩一些,必須填寫從Http之後的所有文字,填寫完成後就需要驗證擁有權
- 僅限輸入網址之下的網址
- 僅限指定通訊協定下的網址
- 支援多種驗證方法

Step1.下載指定的檔案
這個檔案裡面的參數都不能進行修改喔!否則會驗證不到
Step2.上傳到你的網站根目錄
這樣才能知道擁有者是不是真的擁有該網站。(就像我就不能隨便將yahoo加到我的google Search Console啦! )
也有其他的工具可以協助你進行驗證
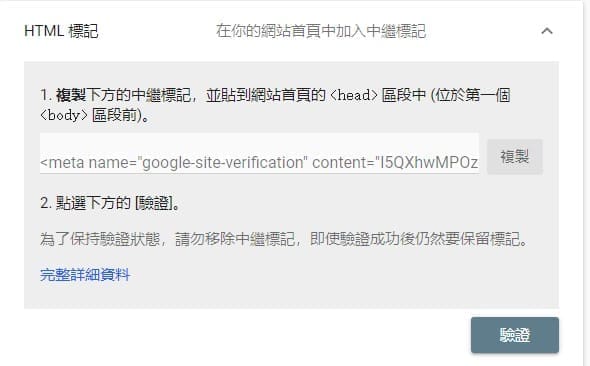
HTML標記
透過複製下方的中繼標記,並貼到網站首頁的 <head> 區段中 (位於第一個 <body> 區段前,完成後再點選驗。
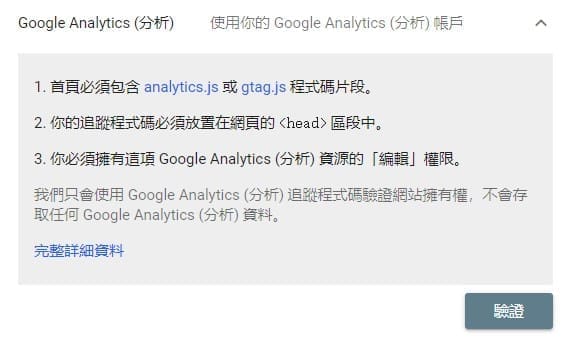
Google Analytics (分析)
如果你已經有GA的帳號了,也可以直接透過GA來進行驗證,將相關的程式碼貼到首頁的程式碼<Head>區域之間,完成後點選驗證。
Google 代碼管理工具
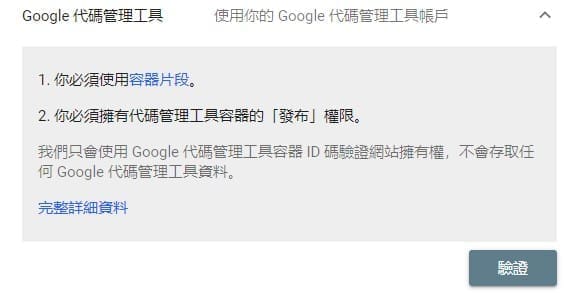
Google 代碼管理工具簡稱GTM,如果你習慣使用GTM來管理你的程式碼,就可以透過這個方式進行驗證。
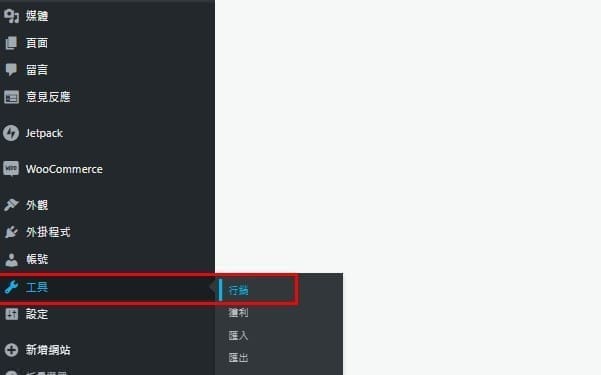
怎麼在Wordpress上新增DNS資訊呢?
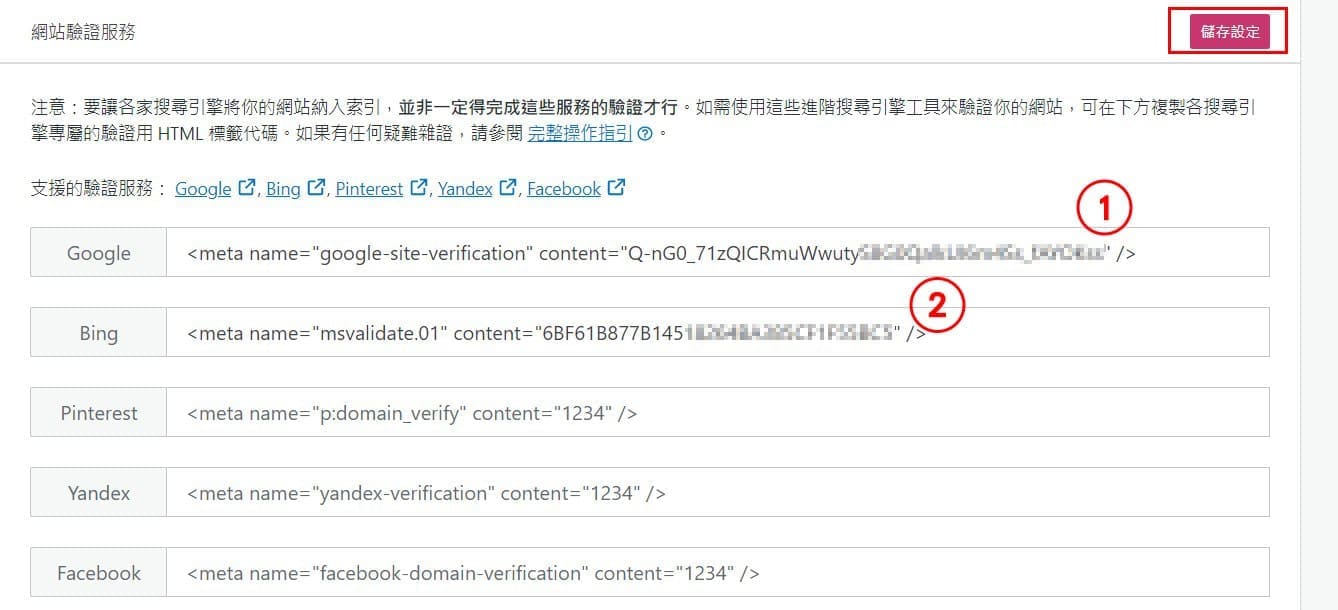
Step1.首先先進到後台找到選單工具>行銷
Step2.進到行銷頁面後,點選流量的選項
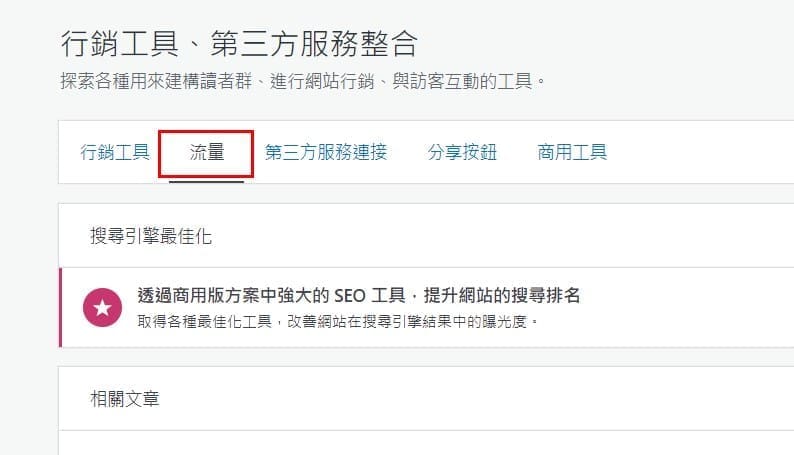
Step3.依照指示將相關的資訊填到欄位裡
並記得按下儲存。完成儲存後需要等待至少2小時以上,google Search Console才有辦法被驗證到。而Bing的部份則是儲存之後,就同步可以進行驗證,速度相當快。